
 | ||
| Metropower Portal | ||
| ||
 Cuey the Mk1 VDP Cuey the Mk1 VDPModerators: Jump to page : 1 2 Now viewing page 1 [25 messages per page] | |
| Gallery-> Members' Journals | Message format |
| CliffordB |
| ||
 Member Posts: 33  Location: Manchester | Hi Folks, Just thought I'd bob up a simply little thread to start with as I begin in the next few months taking care of Cuey. He has a few rusty spots here and there, but with the exception of a few minor niggles, he's not too bad overall.                 I have a load more pictures, but hopefully these will upload for now. | ||
| mikesmetro |
| ||
| Regular Posts: 117  Location: Manchester | le%20Uploads/images.jpeg.html] | ||
| CliffordB |
| ||
 Member Posts: 33  Location: Manchester | |||
| CliffordB |
| ||
 Member Posts: 33  Location: Manchester | Hi Again guys and ladies!! Been doing Inner wing repairs on Cuey recently and I've finally managed to clear the garage and get him in dry storage.                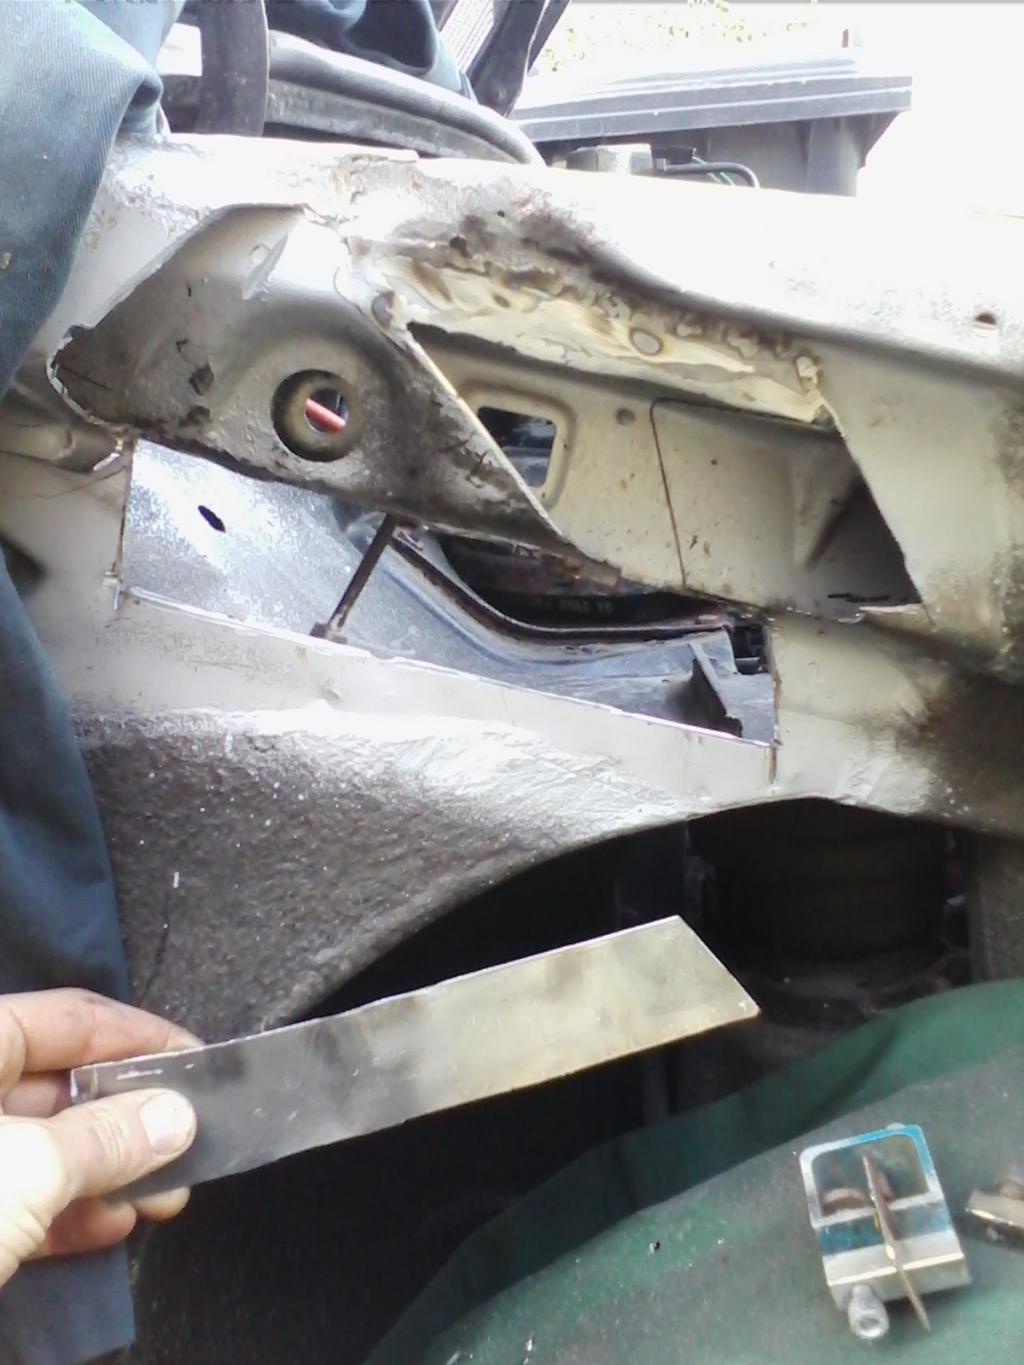  A lot of pictures but not much progress I'm afraid http://www.metropower.org.uk/forum/images/emoticons/tongue.gif Never the less, I've been saving up and I've finally managed to buy these!! http://www.metropower.org.uk/forum/images/emoticons/biggrin.gif  Should keep me busy making these fit Till next time, Cliff | ||
| petrol_head |
| ||
 drive it like its hired          | Cool project | ||
| CliffordB |
| ||
 Member Posts: 33  Location: Manchester | Thanks Petrol Head, should keep me busy after work hours and weekends for some time to come | ||
| DotMatrix |
| ||
 Expert Posts: 4458         Location: Jelling, Denmark | Nice. Make sure to post pictures of progress | ||
| CliffordB |
| ||
 Member Posts: 33  Location: Manchester | Hi There, Just to bring this a little more up to date I thought I'd better upload some of the photos I've been taking. The Photos are quite dark but the lighting in the garage isn't great! Never the less the work couldn't be better or anymore exciting! First thing after I got back from work Friday I made a little trolley from some dolly wheels and a pallet I chopped in half, turns out the garage floor was a bit too rough for the dollies to run along safely so I opted for a fixed form of standing the rear on whilst working on the rear suspension.   After supporting the rear safely I took both wheels off and started to look at what (or were rather) the rear suspension had failed so badly to cause the rear to collapse right down to the Bump stop (Thank god for Bump stops!! :lol: ).    Yes the connecting pipe going into the N/S unit had corroded and snapped as soon as I tried to un-do the nut, oh dear! Also you'll see the leakage on the 90 Degree connector piece I tried to take a photo of too. So with the problem solved and a greater understanding of the rear running gear, it made sense just to strip the units out and start thinking of a simpler system to go back in, at least the Hydro units are reusable for someone else right! :highfive:  It's rather difficult jacking a car this low up off the deck, in the end I had to lever a block of wood under and lift either side up whilst my mum bless her shoved the low lift Halfords "special" jack under the subframe :kiss: .  That's all I'll upload till mid week, should spread the updated out to be most frequent for viewing enjoyment Cheers, Cliff | ||
| petrol_head |
| ||
 drive it like its hired          | You can individualise on the back with adaptors from ralph. You have to grind a fair bit of the cover plate away though. | ||
| CliffordB |
| ||
 Member Posts: 33  Location: Manchester | petrol_head - 9/3/2015 8:49 PM You can individualise on the back with adaptors from ralph. You have to grind a fair bit of the cover plate away though. Hi Petrol, Yeah I know, just decided to cut to the chase and stick with a simpler design considering I want to use it daily eventually, would rather eliminate one potential problem before it happens or I don't have the time to convert it in the future. I knew about Ralph's bits and bobs, buying a few anti-roll bar bits off of him soon actually. I didn't know that you had to grind the cover plate though, do you mean increase the hole Diameter in the cover plate ? | ||
| Marv_666 |
| ||
 '88 MG METRO 1300 Posts: 1117   Location: Dudley, Midlands | petrol_head - 9/3/2015 8:49 PM You can individualise on the back with adaptors from ralph. You have to grind a fair bit of the cover plate away though. Is that a Mk1 thing? Didn't have to grind anything on mine, just had to loosen the strap and turn the unit slightly for the valve to fit through the hole. | ||
| Metromartin |
| ||
 MP Admin Posts: 17870           Location: Gloucester | fantastic mk1 you found there! glad to see it gettting some TLC and hope to see it back on the road soon! Looks great in black. | ||
| CliffordB |
| ||
 Member Posts: 33  Location: Manchester | Thanks, hopefully it'll be a bit better than what it originally was when it left the factory in '83 Some recent progress that I thought I should update you with, there is quite a lot of pictures (which I believe you may be more interested in seeing than reading this twaddle) so I will keep the writing to a minimum and let the pictures do the talking as I'm sure you are aware of what's what here. However, anything that you're unsure of please just ask and I'll message you back Asap and maybe alter the post to clear things up | ||
| CliffordB |
| ||
 Member Posts: 33  Location: Manchester |                                 | ||
| CliffordB |
| ||
 Member Posts: 33  Location: Manchester |           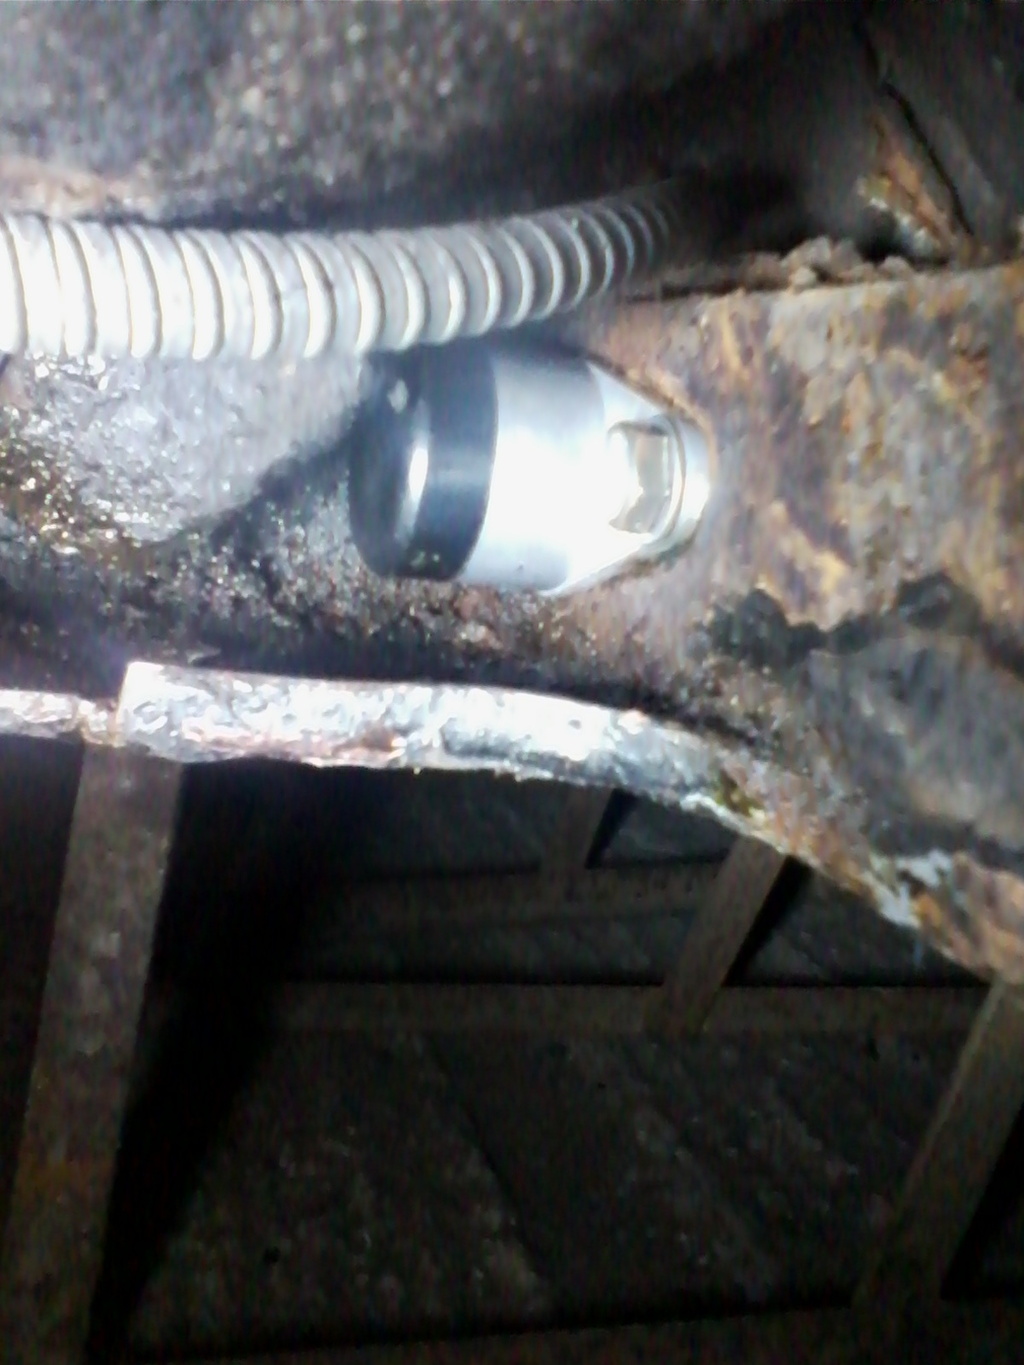           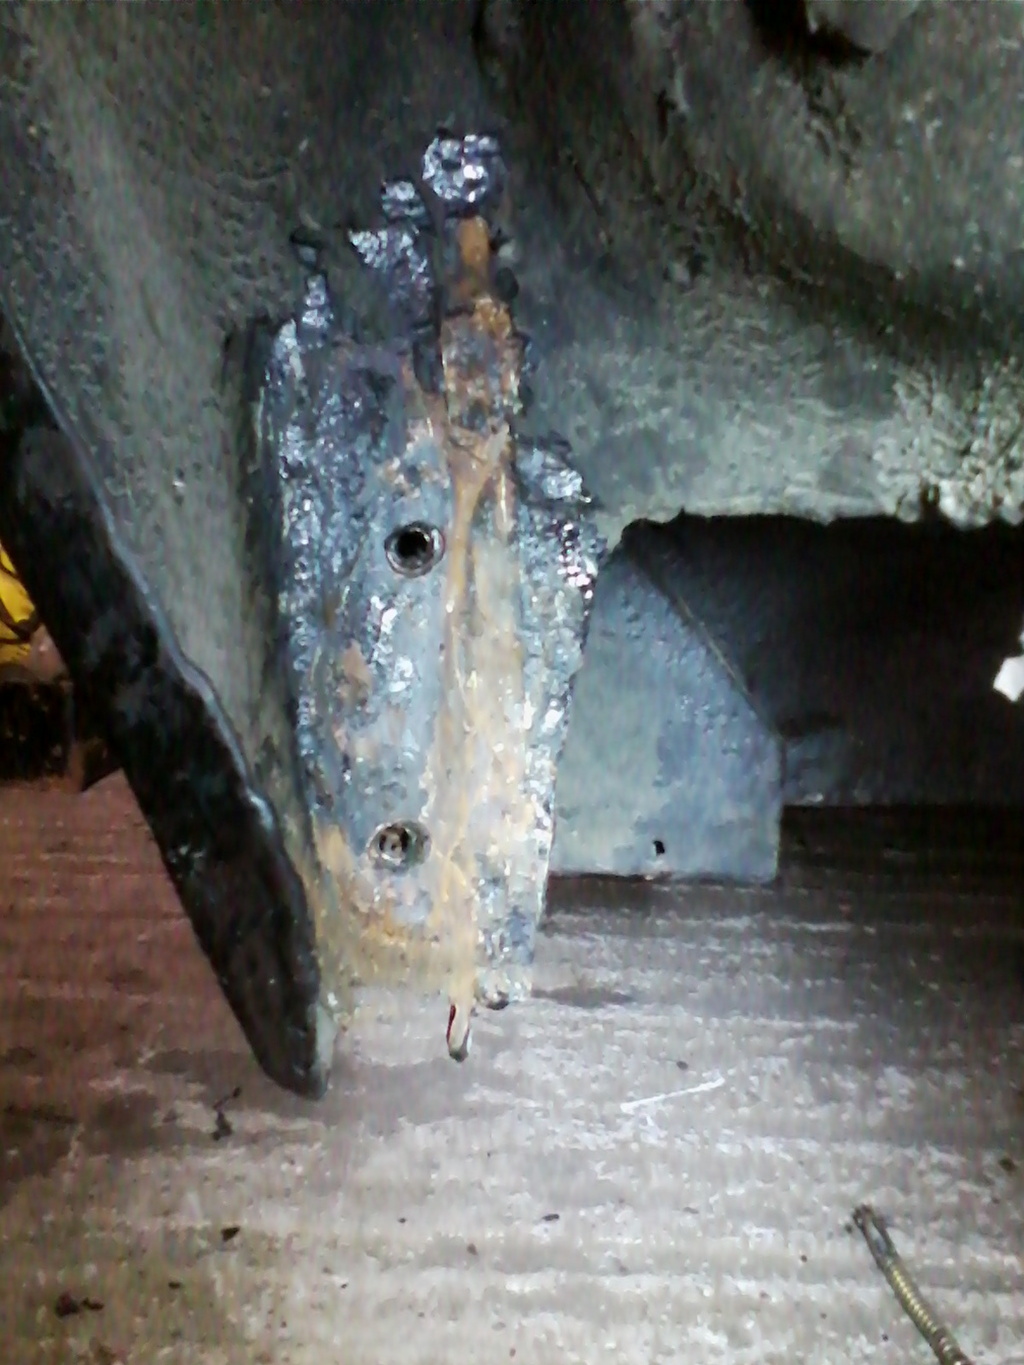  | ||
| CliffordB |
| ||
 Member Posts: 33  Location: Manchester | Fuel Tank dropped next and to my shock I found a spark plug (NGK     Some wiring I found in the rear quarter panel!  I've recently started removing the underseal which has been caked on layer after layer by the previous owner, it's roughly 4mm thick at the least and is a really PITA of a job to remove down the bare metal, although it needs doing for inspection and repair so needs must. All's I can say is underseal won't be going back on!!      Stripping the Radius arms down I found quite a few new components, rather chuffed at the little discovery     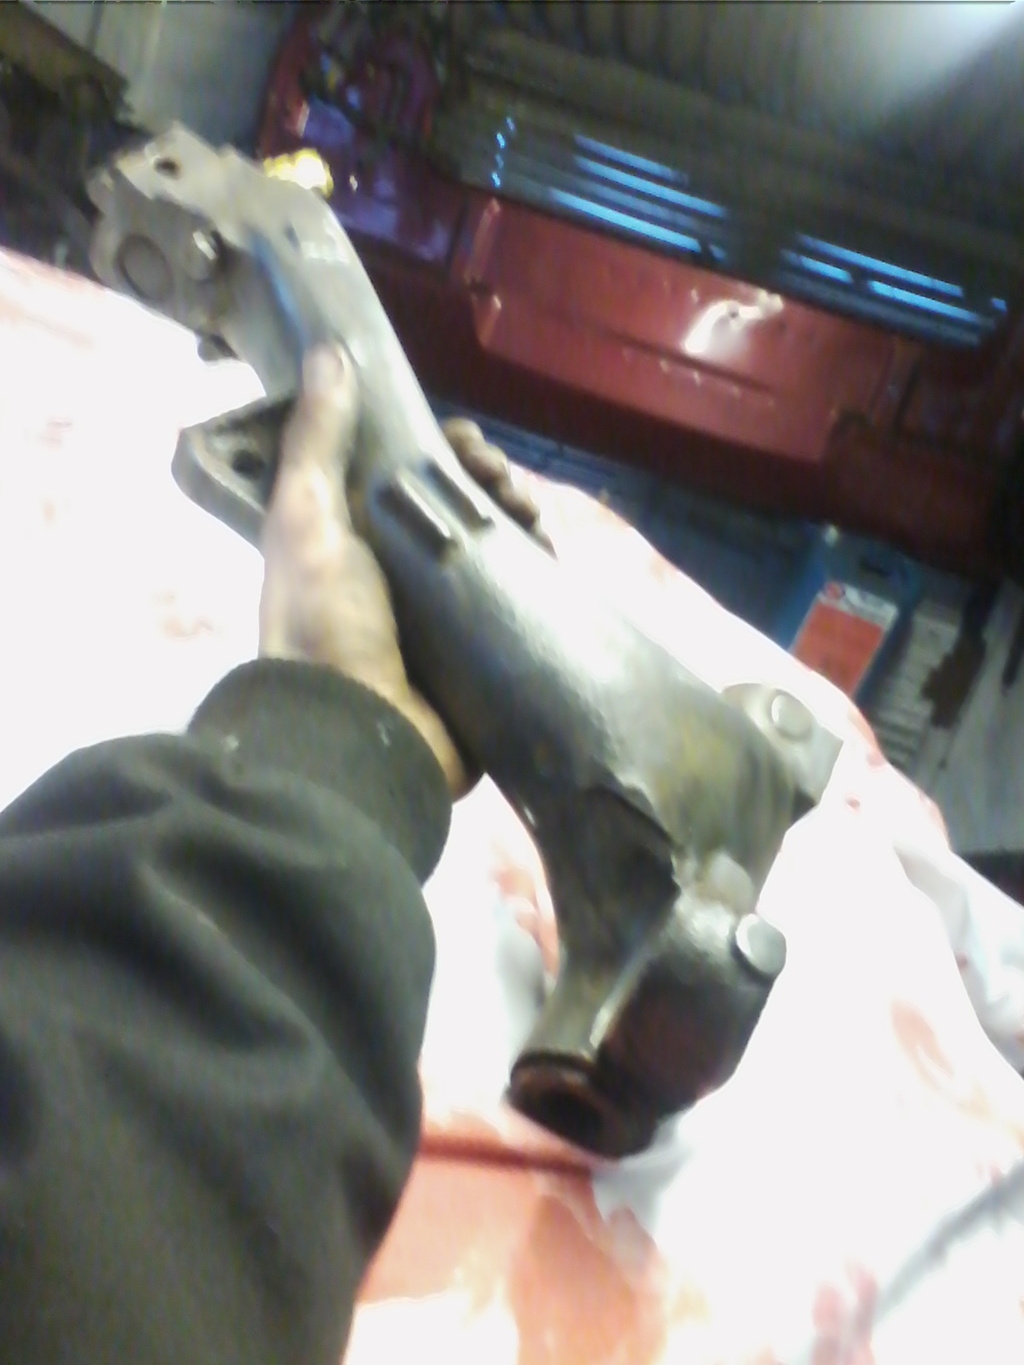    Bought a few NOS parts for the rear end, including subframe mounts, radius arm pin and bearing kits and rear flexi hoses (cracks appearing in old ones).     | ||
| CliffordB |
| ||
 Member Posts: 33  Location: Manchester | Next inline was to dip the bare radius arms in Petrol to remove the majority of the grime and also loosen the grease up inside, unfortunately there was some quite disgusting colours of grease that fell out of one of the arms, quite shocking to the point I thought something had died in there!!       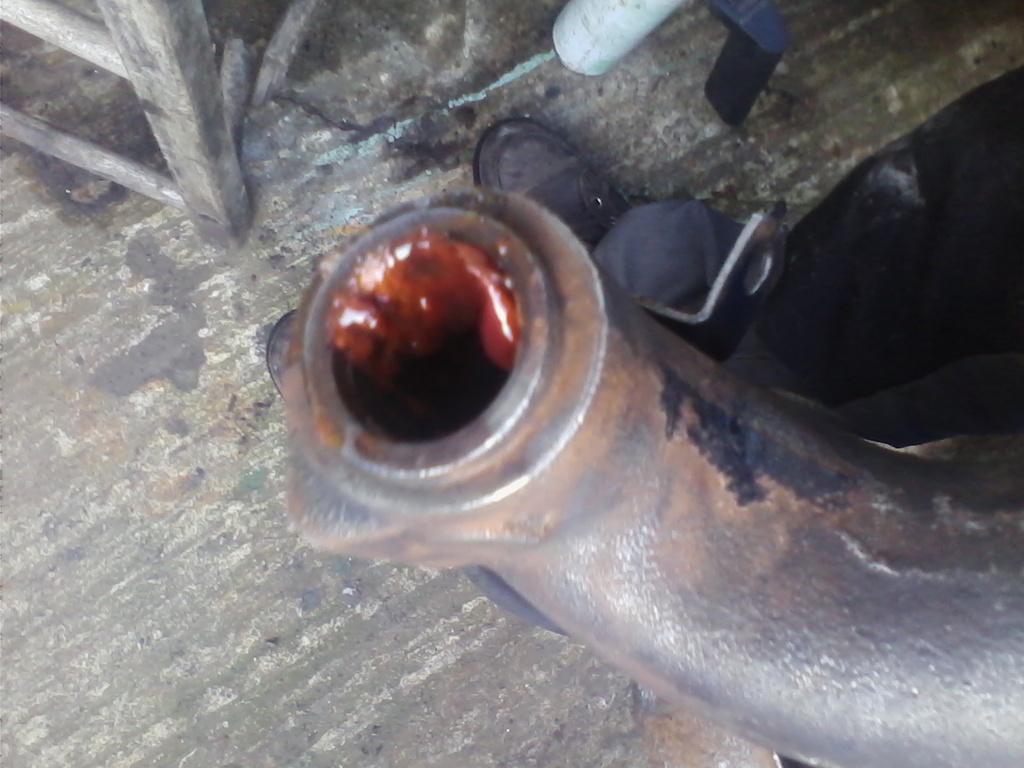    With all of that cleaned out I took a selection of disks to attack and remove the cast surface from the radius arms, the pitted rusted surface put me off priming them so I am removing down to good steel. I have ground away the casting numbers but have retained the Leyland logo just because    Edited by CliffordB 12/4/2015 4:40 PM | ||
| DotMatrix |
| ||
 Expert Posts: 4458         Location: Jelling, Denmark | Some interesting work going on here. Any more progress? | ||
| CliffordB |
| ||
 Member Posts: 33  Location: Manchester | Quite a bit of progress to report actually yes, I keep forgetting my login details though Not made any progress since last weekend with Cuey, although I do have some paint photos and a photo of the radius arm painted and fitted with the new pin kits. 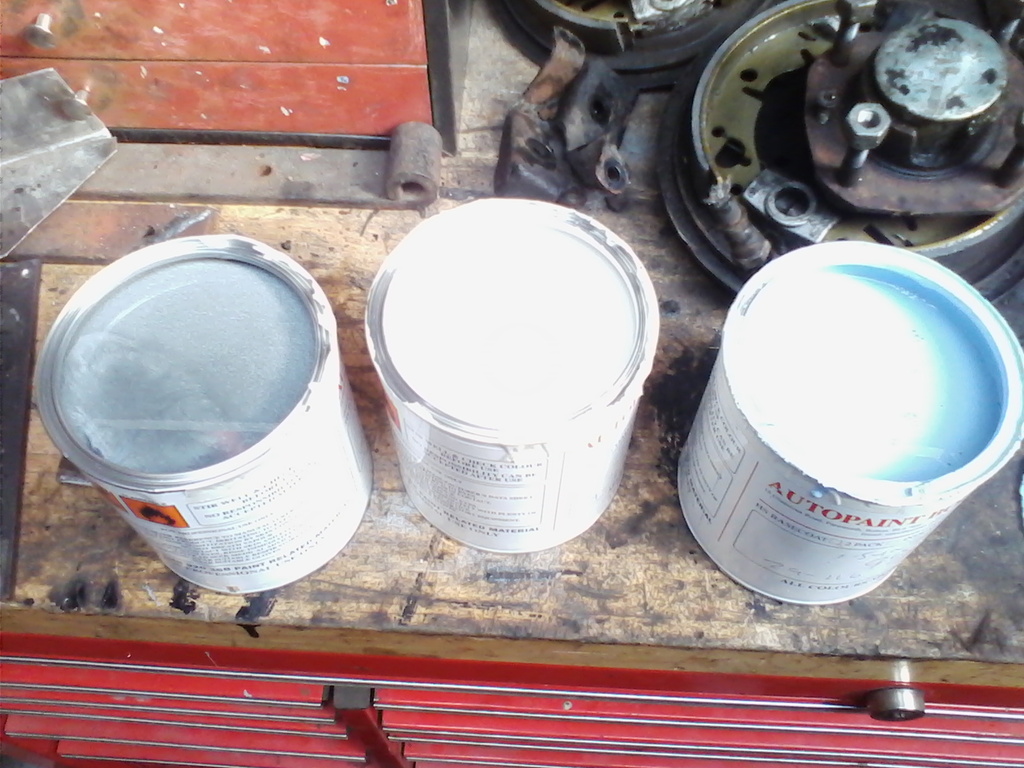    Did a repair to the subframe today and made up both repair sections from thicker than original steel and also seem welded them fully in place to prevent corrosion sneaking in under the surface. I used the Oxy Acetylene to heat up the pieces for bending as it's too thick to bend cold.        Also got another bead of weld on the plates I'd welded on, I re-welded them internally and externally after grinding them down as I want to make sure they're good to do the job, furthermore I'll be "beefing" up this area more to last under any sort of strain even the most harsh track day could provide  Some priming, seam sealing and painting today, the white was just the correct viscosity in my opinion and went on fairly well in light coats, thin enough to brush on well in the hard to reach areas, but also thick enough not to drip down vertical surfaces. Also I stripped back the paint in the filler cap area, also took the hinged flap off too and painted the inside of that also.        A little more done to Cuey yesterday and today. Managed to get both Backplates stripped of paint and zinc, etch primed and then gave them a coat in some lovely silver spray, I didn't go too wild on them as they aren't in the best of shape to be honest, and seeing as mini backplates fit, replacing them will be ultimately the best option. Sorry I've no picture of them finished, I thought I did have one but obviously not Haha  Next up today was the fuel tank, surprisingly it had quite a lot of fuel in it, which meant when emptying it out I had to resort to a diesel fuel can because I couldn't get my hands on another.  After it was emptied I gave it a going over with the DA and rubbed the areas by hand that it didn't get too and them after a quick wipe down with thinners I primed and painted it  I can't get enough of the baby blue!! :wub: And lastly for this weekend is the subframe, unfortunately there wasn't enough time to squeeze this in and get it finished, but I have had progress with it. The backplates have now been reinforced and I'm almost at the stage of welding the angle support in now, this will be that last bit of welding to be done before prep and paint so next weekend should see the subframe in paint weather permitting.    Edited by CliffordB 31/5/2015 8:43 PM | ||
| CliffordB |
| ||
 Member Posts: 33  Location: Manchester | Little bit more today, most of the time is spent waiting for coats to dry so rather annoying to be honest. Never the less I have one side of the subframe painted (3 brush coats in all) and a load of bolts and spacers painted up too. One spacer I was missing sadly so I have to grind a nut down to the same diameter on the bench grinder, worked a treat! :thumbsup:     That's the radius arms built up now, just need to paint the drums and we're ready to rock and roll :techsupport: .  Praying for good weather tomorrow as I have no room in the garage to paint or use the grinder. Cheers, Cliff | ||
| CliffordB |
| ||
 Member Posts: 33  Location: Manchester | Manage to get a little bit of painting done today, only two coats though so I'll have to get another on during the week so it's hardened by next weekend for handling.   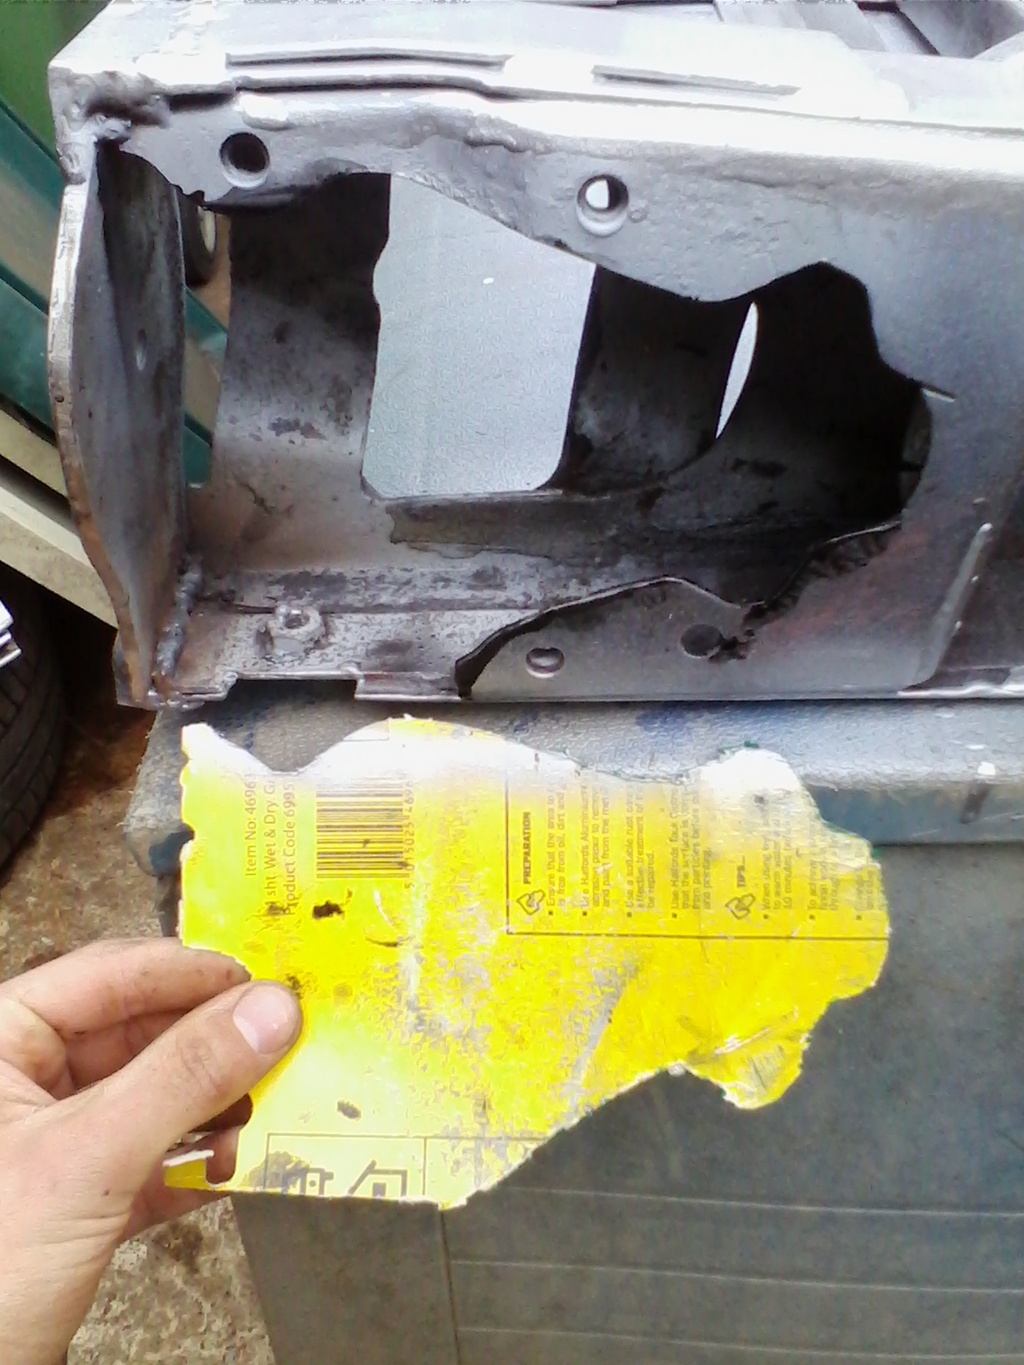  Cliff | ||
| CliffordB |
| ||
 Member Posts: 33  Location: Manchester | Little more work done today after work. Managed to bare metal one "leg" of the subframe and get a couple of coats on, will give it another tomorrow when I've done the other side. Also ground down the access metal in that area as per the last post. Thought I'd mask up and prime/paint the inner arch panel too seeing as it started raining and I had to bail out of working outside, I've gone for a silver on the inside, most of the interior is covered by the blue fabric anyway, but it's nice to know it's been done all over and not just here and there. As well as fabric interior covering it I'm hoping I can get some sound and thermal insulation in there too which will make it more like a modern car in terms of road noise.       Till tomorrow, Cliff | ||
| CliffordB |
| ||
 Member Posts: 33  Location: Manchester | Made a mini milestone today, got the rear subframe pretty much completed!!! =D  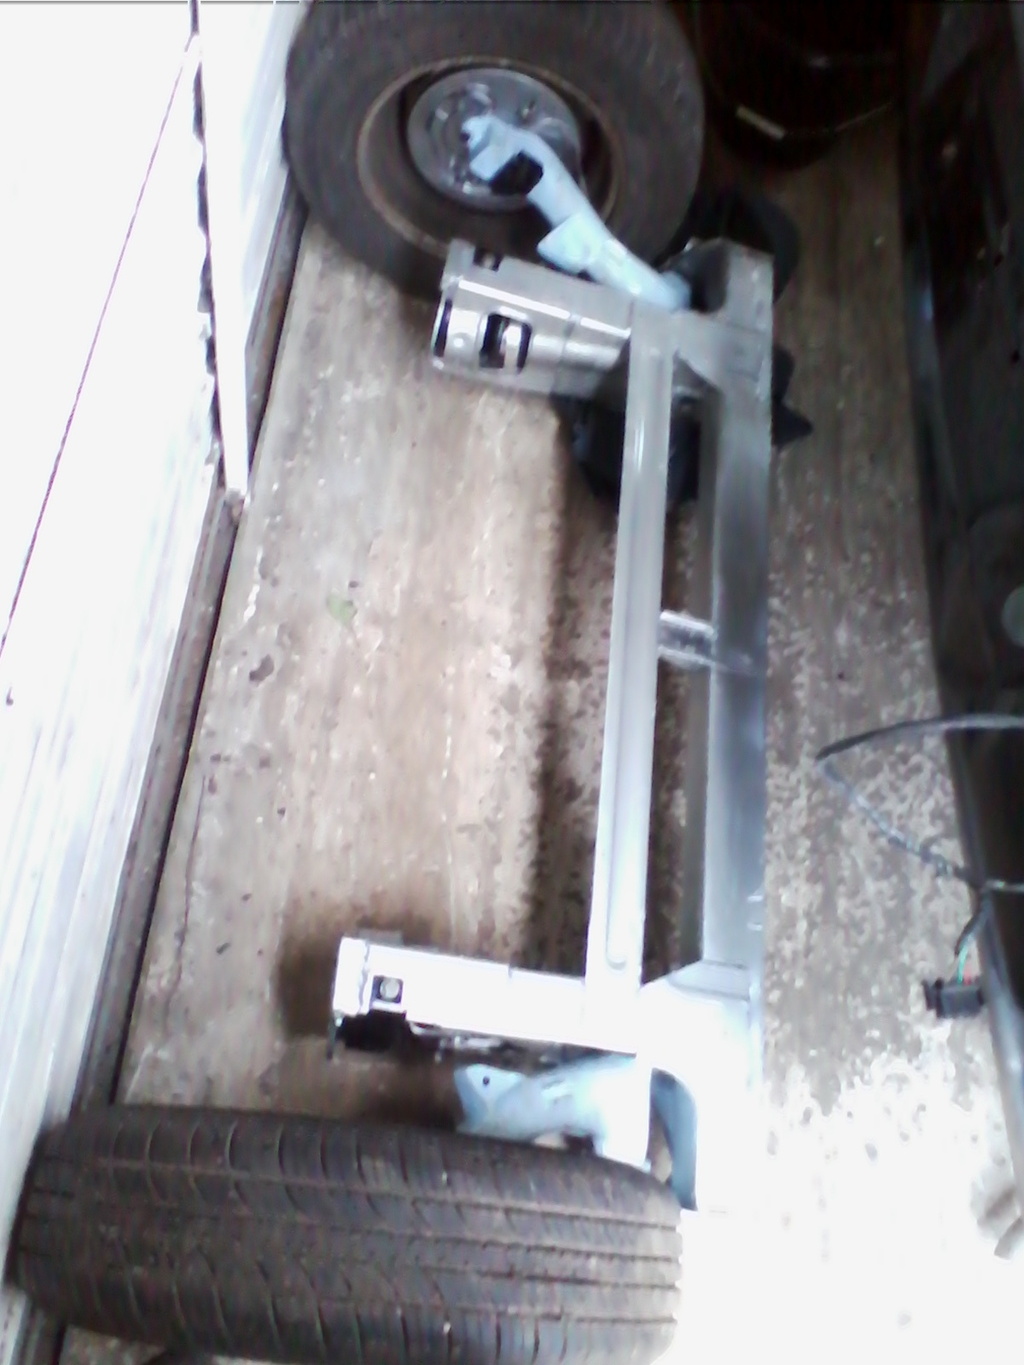 Cheers, Cliff | ||
| CliffordB |
| ||
 Member Posts: 33  Location: Manchester | I've been dipping and diving in and out of the garage today getting bits of progress done on Cuey. I'm currently prepping for bracing and cutting out the front floor pan section and part of the inner sill, interior has been stripped and wrapped in Clingfilm type tape and stored in the loft till the sills, rear panel and sunroof are all finished. The picture quality isn't great because it's from my one and one camera at the moment on my phone, but it gives you an idea Also I've struggled to fathom out how the sill construction works on the Metro, more so with it all being rotted along the bottom edge of the joining seam. But in the end I've figured it out, Austin Rover decided to make the inner sill and floor pan out of one piece, and then as a sort of after thought they forgot to incorporate the outer sill in the planning and consequently spot welded it to an L shaped bracket they stuck on the end of the floor pan!! . Here's a quick cross section paint drawing showing the way it's been done:        Also removed the drivers door to aid access as there's not much room to open it in the garage.  Front inner wing front condition.  And that's another weekend gone by . | ||
| DotMatrix |
| ||
 Expert Posts: 4458         Location: Jelling, Denmark | another time when you remove a thing like the L shaped lip (which is quite a good design by the way, as you state | ||
| Jump to page : 1 2 Now viewing page 1 [25 messages per page] |
| Printer friendly version E-mail a link to this thread Jump to forum : |
| (Delete all cookies set by this site) | |
| Running MegaBBS ASP Forum Software v2.0 © 2003 PD9 Software | |