| Metropower Portal | ||
| ||
 Loz's 1989 Metro City Loz's 1989 Metro CityModerators: Jump to page : 1 Now viewing page 1 [25 messages per page] | |
| Gallery-> Members' Journals | Message format |
| G412 |
| ||
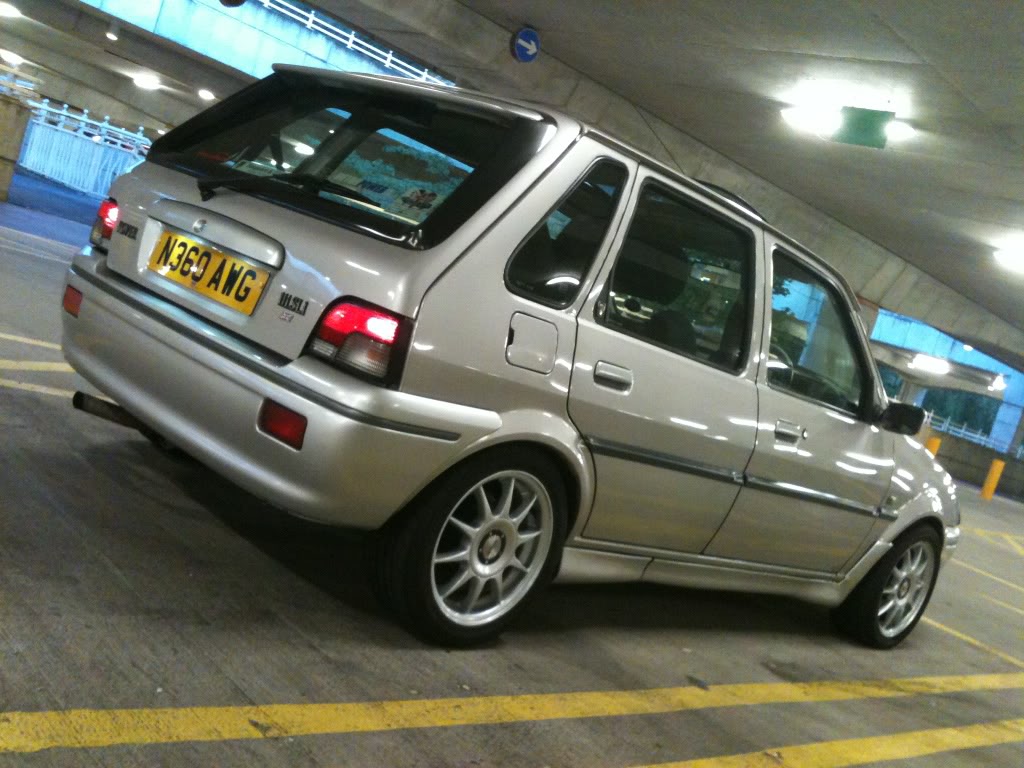
 New user Posts: 7 Location: Warwickhire | So this started in about 2012. The bulk of the resto was done that year, and now it's just maintanance and upkeep. So I will fill you in on the details from back then... We bought it from Rugby. It had a bit of t&t left so my Dad drove it back for me - a reminder of his younger days. It was hammering rain, the thermostat had packed up and there was moisture coming in the footwell. This is when I started to assess the car the following morning...  1 by deadformat, on Flickr 1 by deadformat, on Flickr As you can imagine I was pleasantly surprised... The wings came off and it was still pretty good given it had been a daily for a while  2 by deadformat, on Flickr 2 by deadformat, on Flickr I mean this was one of the worst bits on the inner wings  15 by deadformat, on Flickr 15 by deadformat, on Flickr Work was under way in seconds though. All cleane dup, given a few coats of red oxidde, hammerite topcoat and a spray of tetroseal. I welded up and formed a new part for the rotten through part using good parts of the original wings...  4 by deadformat, on Flickr 4 by deadformat, on Flickr  5 by deadformat, on Flickr 5 by deadformat, on Flickr  6 by deadformat, on Flickr 6 by deadformat, on Flickr  14 by deadformat, on Flickr 14 by deadformat, on Flickr It all started to look good  34 by deadformat, on Flickr 34 by deadformat, on Flickr Obviously anything that should be body coloured was returned to body colour...  26 by deadformat, on Flickr 26 by deadformat, on Flickr Now the original wings were rotten through at the bottom...how the A pillars had survived is beyond me. So I sourced two NOS wings on fleabay and sprayed them up...  35 by deadformat, on Flickr 35 by deadformat, on Flickr I used the same technique on the inside of these. Red oxide, hammerite and spray on tetroseal  29 by deadformat, on Flickr 29 by deadformat, on Flickr Along the way I made a few new 'hot mods'. There were a lot water traps built into the design of the Metro. So I used some Sikaflex to fill any unnecessary seams along the way. Mainly at the front end, and on th enew wings etc. Here is an example...  25 by deadformat, on Flickr 25 by deadformat, on Flickr The original owner had dented it, so I repaired this...  556210_10151542848355578_258296923_n by deadformat, on Flickr 556210_10151542848355578_258296923_n by deadformat, on Flickr  19 by deadformat, on Flickr 19 by deadformat, on Flickr Now for the interior. Lots of pensioner stains  7 by deadformat, on Flickr 7 by deadformat, on Flickr So all out. Carpets pressure washed and seats steam cleaned  24 by deadformat, on Flickr 24 by deadformat, on Flickr  30 by deadformat, on Flickr 30 by deadformat, on Flickr This allowing me to see the floor and get to work on it. Which I must admit was surprisingly good. Still, i welded up 9 holes. As usual protecting them with the usual treatment, followed by some body colour. yes it's out of view, but I am a perfectionist with this stuff...  22 by deadformat, on Flickr 22 by deadformat, on Flickr  21 by deadformat, on Flickr 21 by deadformat, on Flickr  18 by deadformat, on Flickr 18 by deadformat, on Flickr There was more but I was a bit lax on photo taking. It all started to piece back together eventually  33 by deadformat, on Flickr 33 by deadformat, on Flickr During which time I sorted out the head gasket, retimed it and retuned the engine  32 by deadformat, on Flickr 32 by deadformat, on Flickr  38 by deadformat, on Flickr 38 by deadformat, on Flickr Once back together it looks tres cool. The wheel are Mk1 steelies as the 315mm's are just impossible. These were powedercoated back to silver.  IMG_20160320_130907953 by deadformat, on Flickr IMG_20160320_130907953 by deadformat, on Flickr it has been on the BBC, Classic Car Weekly and a few other publications. Even used it as a wedding car at my cousins wedding (alongside his '72 Mini). I think its fun, and a bit different as it is pretty much original!  FB_IMG_1441974821114 by deadformat, on Flickr FB_IMG_1441974821114 by deadformat, on Flickr  G412 by deadformat, on Flickr G412 by deadformat, on Flickr  G412 by deadformat, on Flickr G412 by deadformat, on Flickr Recently I have just done some work on the subframe. it was fine but going a bit crusty. So I wire wheeled the affected areas, used some hammerite primer, some red oxide, a hard enamel coat and some brush on tetroseal to top it off. Should be hardy, whilst not prone to stone chip damage.  G412 by deadformat, on Flickr G412 by deadformat, on Flickr  G412 by deadformat, on Flickr G412 by deadformat, on Flickr Hope you have enjoyed reading about this fairly basic but hopefully a little bit different resto  | ||
| 111Sli |
| ||
 Transport Guru MP Moderator Posts: 4947     Location: Bromley, Kent | Great to see some quality hard graft going into a Metro (Y) | ||
| DotMatrix |
| ||
 Expert Posts: 4458 Location: Jelling, Denmark | as above really  nice looking metro nice looking metro | ||
| glyn-ellis |
| ||
| Elite Veteran Posts: 697 Location: leigh | I'm sure the newer the metro the quicker they rust! I've had r100s worse than that on the floor! | ||
| Saxokid100 |
| ||
e469.jpg?memberid=3428&type=profile) dot dot dot Rally Spec Location: Northwest | Some very nice work here. | ||
| Jump to page : 1 Now viewing page 1 [25 messages per page] |
| Printer friendly version E-mail a link to this thread Jump to forum : |
| (Delete all cookies set by this site) | |
| Running MegaBBS ASP Forum Software v2.0 © 2003 PD9 Software | |
